Another Kind of Harvesting
Computer, paper, scissors, and back again.
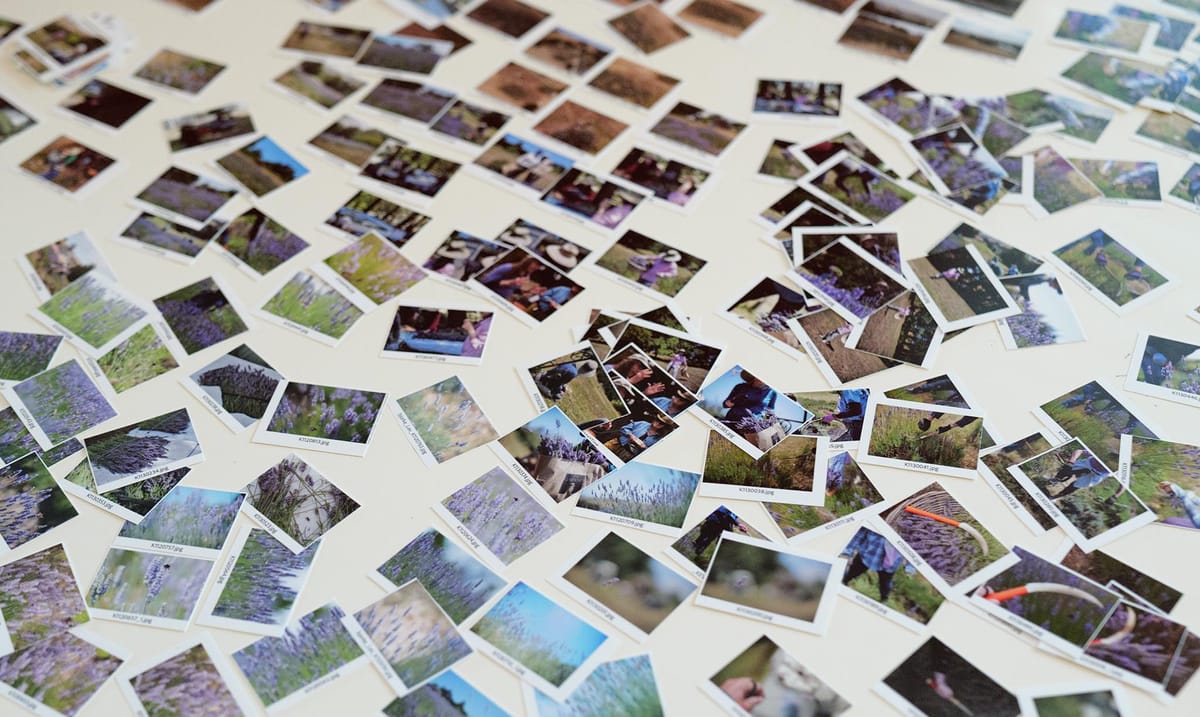
The photo above shows some of about 250 thumbnails that I printed when assembling a recent event-album project (about an annual flower harvest), which was ultimately assembled in book form via Adobe InDesign. One of the page spreads is beginning to come together on the upper left of the picture (as a little stack). Only a fraction of the images represented by these thumbnails ended up in the final book.
They're made using Adobe Bridge and Photoshop in tandem with my desktop printer. After doing an initial rough select of project images in Bridge, I pull the top 10-15% of them further along down the pipeline.
If the images have come from many different source folders (as these ones did), I run Bridge/Photoshop's "Image Processor" tool (select in Bridge, then run the tool: Photoshop does the actual processing) and pour good-quality JPG copies into a single directory.
If there are going to be large blocks of text, I might make thumbnail photos of those (sometimes as screen captures), too.
Next, these copies (or the originals, if all in one folder) are passed to Bridge/Photoshop's "Contact Sheet" tool. I print contact sheets in 6-by-6 arrays, for letter-sized paper, minimal spacing, and I include the filenames as labels. Typically this produces several contact sheet files. All are printed, preferably on photo paper (or presentation matte), something similar in feel to the paper to be used for a final printing (if the destination's not straight to PDF).
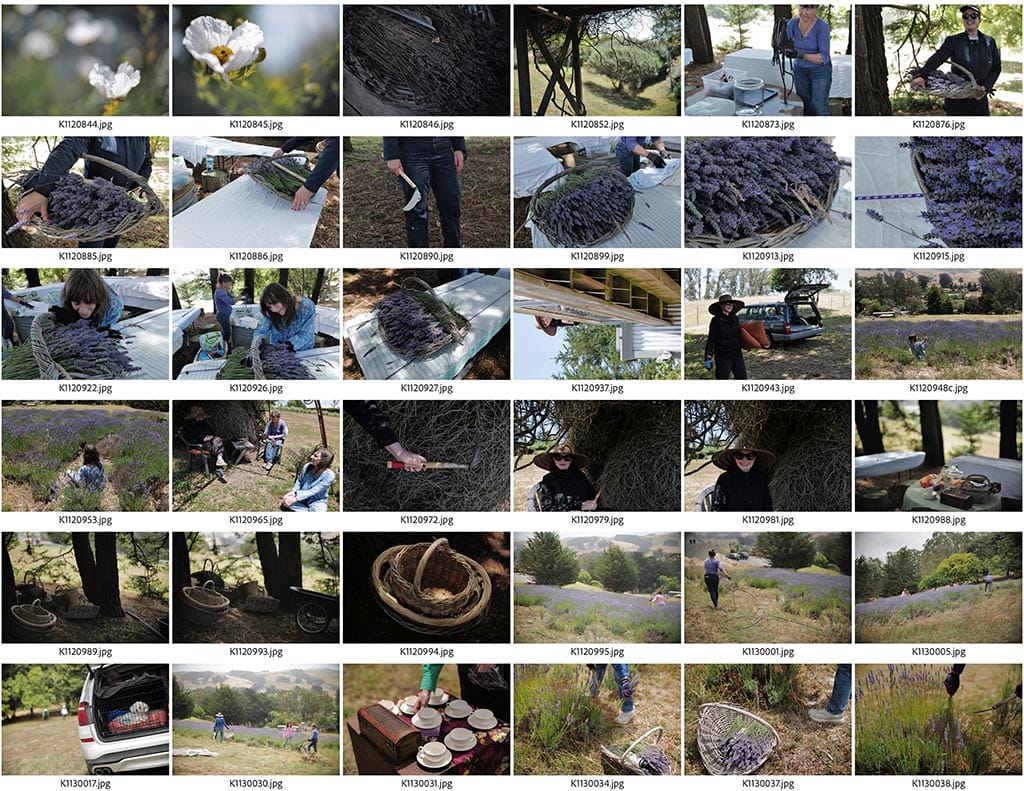
The printed contact sheets head into the paper cutter and scissors: all the thumbnails, with their labels attached, are separated into little cards. They're about the size of a mounted 35mm slide, but don't need a light table or an eye loupe. Collect, shuffle, sort, lay them out on the table.
For a while I made 4x6 prints for sequencing, rather than tiny thumbnails. I now prefer the small ones, you can see more all at once and they're quicker to create, label, and revise.
While some decisions are made while being laid-out and moved around, grouped, and rejected on the table, it's important to also be paying attention even while you're first collecting the contact sheets, cutting them apart, handling them, and setting them down for the first time. Don't try to make it too finished before you've begun. Seeing and feeling these little items in your hand will change your perceptions. Unexpected relationships and colors come through. Families of colors and transitions, rhythm and punctuations. Some things that you thought you already knew about the pictures start to erode, and new ideas appear from the seeming randomness.
Once the ideas of the broader flow are starting to clarify, I get back into Adobe Bridge and start marking ordered selections based on the little stacks of thumbnails. Those selections are placed onto Adobe InDesign pages ASAP.
The paper thumbnails are great, you can arrange to see across many pictures at once. But you also need to see the pictures at higher resolution on a page layout with captions and text, and in two-page spreads, and once those are taking shape, to start to page-through your project, spread-by-spread, as if it's really there in final form.
The InDesign transition tends to happen in chunks, individual passages or chapters for the final, then I go back to review the thumbnails, take some photos out, maybe even print some extra thumbnails (that happened on this project). There's both push and pull between paper and pixels.
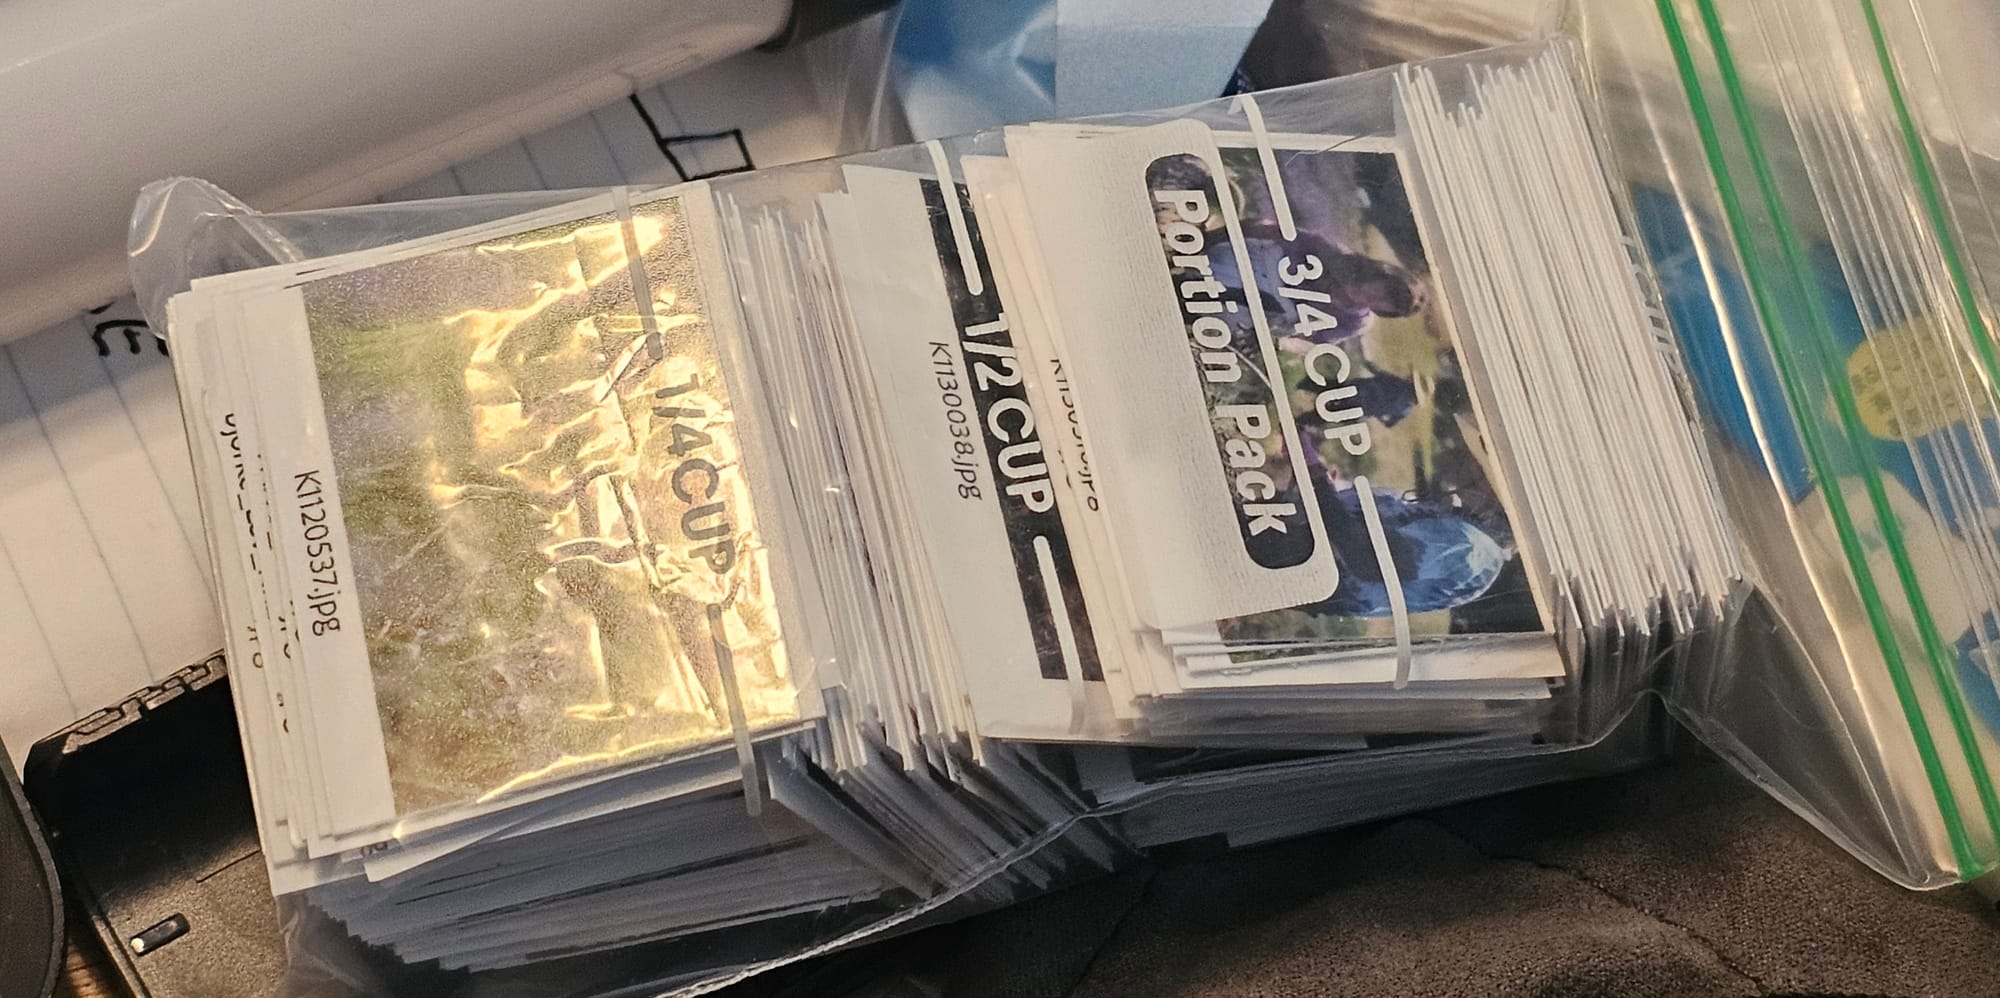
At some point, the thumbnails have done their jobs, the project is entirely electronic again. The cards can be put away. I use snack-size ziploc bags for storage. As you can see, this was a 3/4-cup project.